Raspberry Pi 5 M.2 HAT+ Review: Seamless Performance Out of the Box
About six weeks ago, the Raspberry Pi Foundation announced the official M.2 HAT for the Raspberry Pi 5 allowing us to finally have an internal disk drive for bigger storage capacity and a faster computing experience.
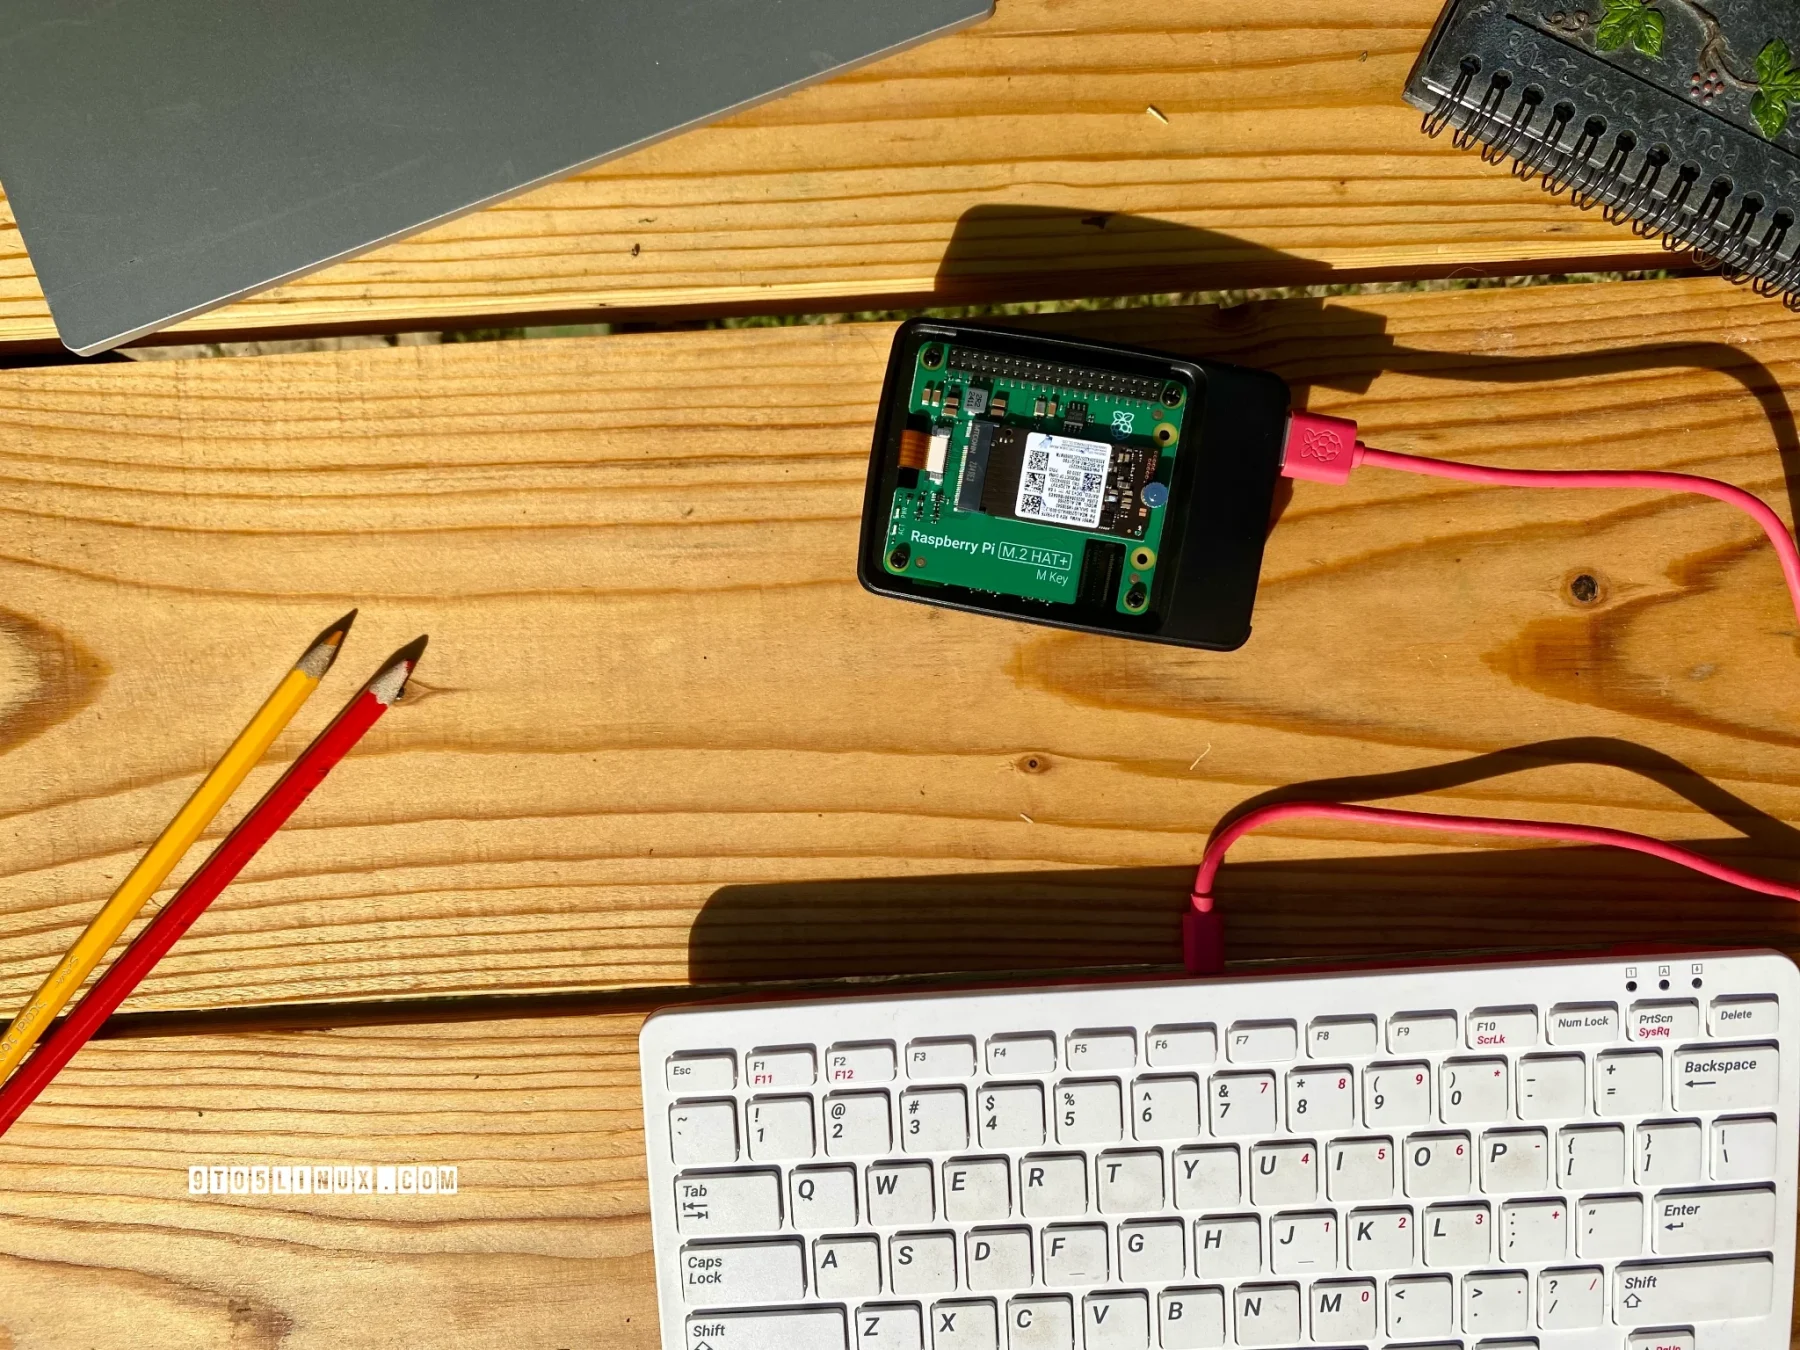
The official M.2 HAT is called M.2 HAT+ promising up to 500 MB/s data transfer to and from NVMe drives attached to it, which can be in 2230 or 2242 form factors. After a long wait, my local supplier finally received the official M.2 HAT+ for Raspberry Pi 5 so I can’t be happier to share my thoughts about it with you.
This review will be pretty short because there’s not much to tell about the official Raspberry Pi 5 M.2 HAT+ except for the fact that it just works. In the box, you’ll get the HAT along with a 16mm stacking header and threaded spacers to install it on a Raspberry Pi 5 board that uses the official Raspberry Pi Active Cooler.
For those wondering if it will fit in the official Raspberry Pi 5 case, the answer is yes and no. Why? Because you will be able to install two parts of the case, but not the top. The top part with the Raspberry Pi logo printed on it won’t fit anymore when the M.2 HAT+ is installed.
In terms of speed, I haven’t noticed any difference when booting from the NVMe drive compared to booting from an SSD drive connected to one of the USB 3.0 ports. However, I did notice a bit of improvement compared to booting from an SD card. For example, Ubuntu 24.04 LTS will boot up to 12 seconds faster from the NVMe drive.
Data transfers from USB flash drives are pretty fast also as I’ve transferred a 4.4GB file from a USB stick attached to one of the USB 3.0 ports to the internal NVMe drive in about 35 seconds at a stable 122.5 MB/s speed.
But it’s not all about booting faster, it’s also about having a stable internal disk drive like all computers have. I know that Raspberry Pi is designed for tinkerers who want to build their own PCs or NAS or whatever the Raspberry Pi can become, but having support for installing an internal drive is a must in 2024.
Once installed, you will need to set the NVMe drive as bootable, which can be achieved by opening the terminal emulator and running the raspi-config command. Then, go to Advanced Options > Boot Order > USB Boot. However, for some reason, I can only do this from the Raspberry Pi OS and not from Ubuntu.
That’s it, now the Raspberry Pi 5 is finally a decent and reliable computer for everyday use. If you’re like me and don’t want to have an SSD drive attached with a cable to your Raspberry Pi computer or don’t want the limitations of an SD card, you should get the official Raspberry Pi 5 M.2 HAT+.
Last updated 8 hours ago