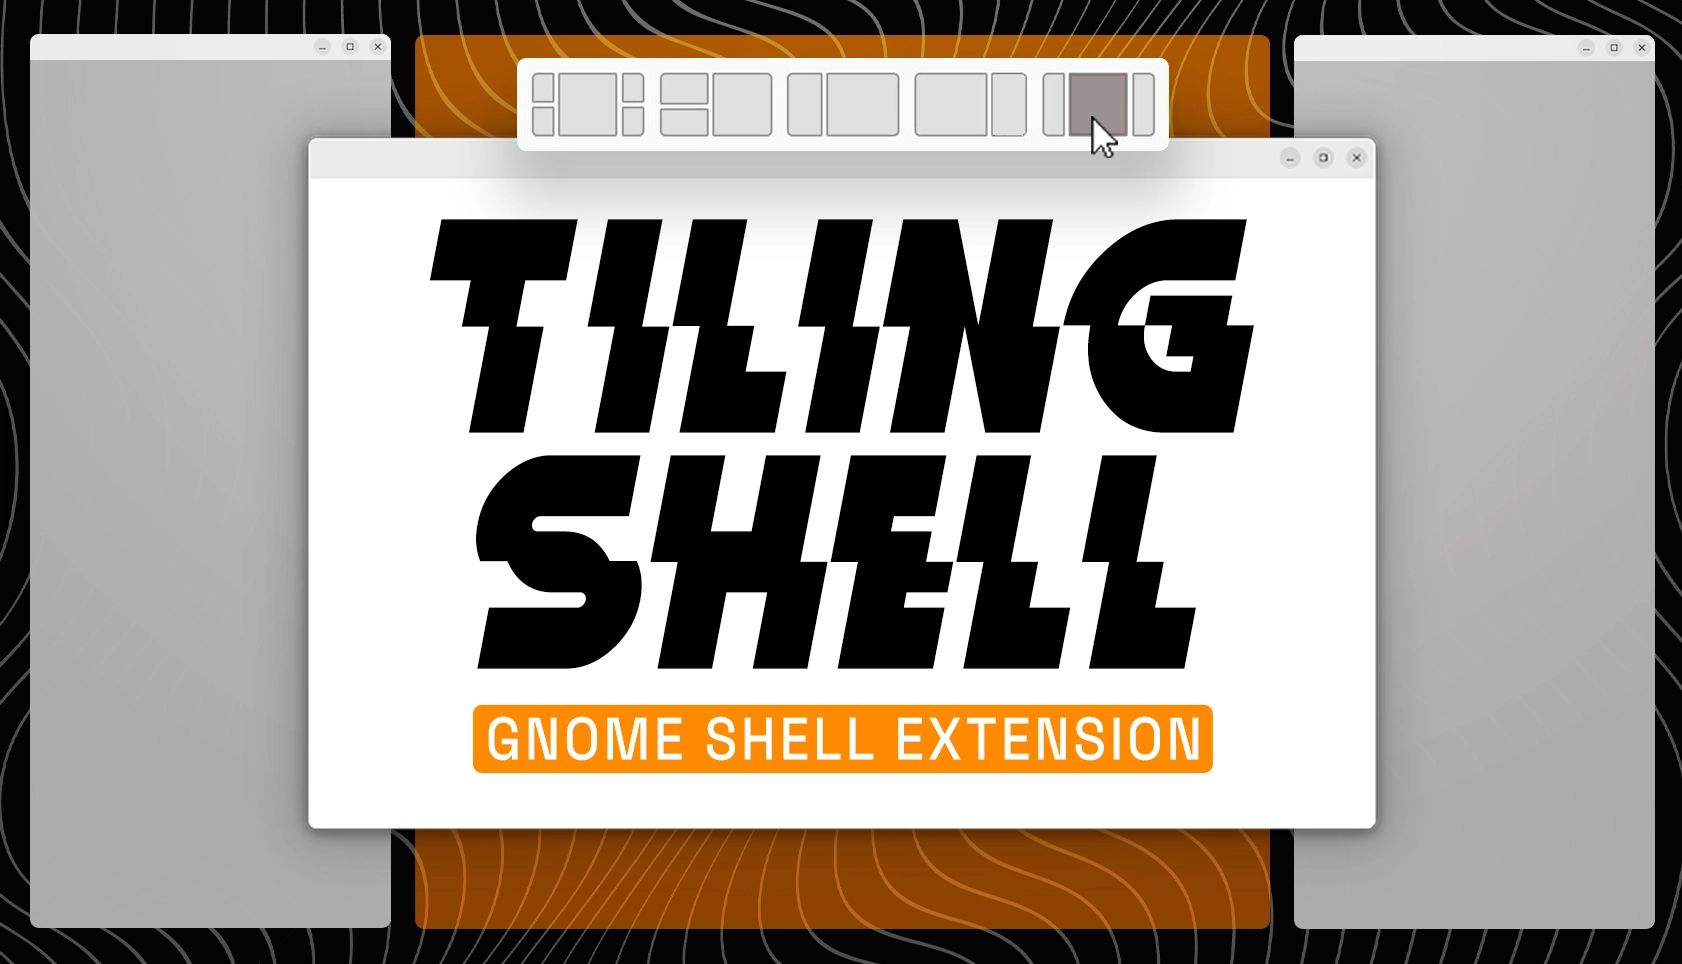
I have a strong appreciation for the Tiling Shell GNOME Shell extension, as it excels at its functionality while also catering to a variety of user preferences. It provides flexibility by allowing users to tile windows using a mouse along with drop zones, via keyboard shortcuts, or through a combination of both options – making it adaptable for everyone.
The latest iteration, Tiling Shell v14, introduces some exciting additional features:
- The border outline of the focused window can now be customized to any color.
- New functionality to adjust animation timing (set to 0 to turn off animations).
- Configurable keybinding to reposition a window to the center of the screen.
- Configurable keybinding for toggling focus between tiled and untiled windows.
- Tiling Shell settings can now be easily exported, imported, or reset to their default state.
The ability to choose a custom color for the border around the focused window is a highly welcome enhancement.
When the ‘Window Border’ feature is activated — which can be made wider for better visibility in my screenshots — a new option for ‘Border color’ becomes available. This allows you to select a custom color for the border through a color picker.
Continuing with focused windows, this update introduces the capability to assign specific keyboard shortcuts for shifting focus between applications in all directions: left, right, up, and down. This functionality will certainly be appreciated by users who prefer keyboard navigation, even if the window is not part of a tiled setup.
I find value in using both the keyboard and mouse for tiling — that slide-in snap assistant is incredibly useful!
In a similar vein, this update introduces a keyboard shortcut that allows users to center the focused window on the screen, regardless of whether the window is tiled.
I find it important to highlight, whenever I discuss this GNOME Shell extension, that you aren’t restricted to just four quadrants or two vertical divisions. You have the ability to create your own custom tiling layouts through a WYSIWYG (What You See Is What You Get) interface, save them, and easily toggle between them as needed.
Although my desktop setup doesn’t consist of a massive screen – I’m using a 4k display set at 200% scaling – this extension significantly enhances my ability to utilize the available space effectively (when necessary) compared to the straightforward but limited options that come pre-installed in Ubuntu 24.04 LTS and newer versions with the Ubuntu Tiling Assistant.
While the Tiling Shell is both powerful and highly configurable, it also provides the flexibility to be used simply and unobtrusively as per your preferences – you aren’t compelled to utilize all of its available features.
Get Tiling Shell
Tiling Shell is a free and open-source application that works with GNOME 42 and later versions (such as Ubuntu 22.04 LTS or newer). If you already have the extension installed, you’ll receive the latest update automatically, but remember that the update won’t take effect until you log out and log back in.
If you haven’t installed it yet, you can acquire Tiling Shell from the GNOME Extensions website using Google Chrome or Firefox. However, it’s highly recommended that you use the fantastic desktop Extensions Manager application available in the Ubuntu repositories for an easier installation experience.
• Get Tiling Shell on GNOME Extensions
- I don’t tile windows most of the time, mind. I rarely run anything maximised either. ↩︎
